- More to the Delightful Daisy set than you think
- You're Invited to the June 9 Card CLass
- Bonus Days - $5 coupon to spend in August for each $50 ordered in July
- Ever thought about joining Stampin' Up!? Special July incentives!
Daisy Bunch
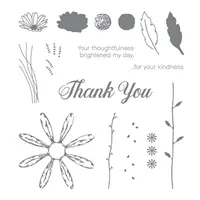
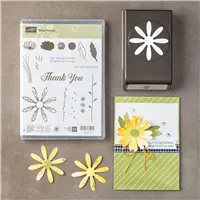
You've seen plenty of Daisy Delight cards using the large Daisy punch. Today I used a few of the other stamps in this wonderful set. I used the smaller daisy head and the stems and willows to make this card. I stamped the small daisy head multiple time and then added the long stem. Becuase this is a photopolymer stamp, the stems are flexible and can be curved so that it looks like several different stems. I fussy cut one of the daisy heads out of a yellow sticky note so that I could use it as a mask rather than stamp over the Daisy head with a stem, which gives the flowers a more realistic look.
You've seen plenty of Daisy Delight cards using the large Daisy punch. Today I used a few of the other stamps in this wonderful set. I used the smaller daisy head and the stems and willows to make this card. I stamped the small daisy head multiple time and then added the long stem. Becuase this is a photopolymer stamp, the stems are flexible and can be curved so that it looks like several different stems. I fussy cut one of the daisy heads out of a yellow sticky note so that I could use it as a mask rather than stamp over the Daisy head with a stem, which gives the flowers a more realistic look.
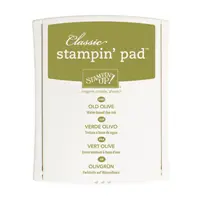
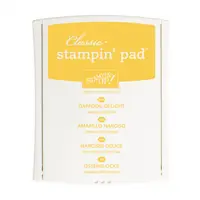
The basecard is thick Whisper White. Then I cut a strip of one of the Designer Series Papers from the Delightful Daisy papers. The image block is matted in Old Olive cardstock. The inks used for the flowers were Daffodil Delight and Old Olive. The sentiment is stamped in Night of Navy and it comes from the Rose Wonder stamp set.
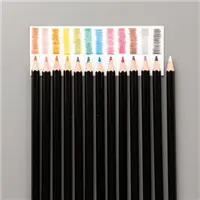
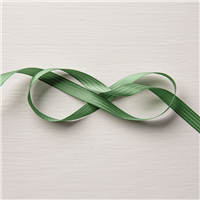
The ribbon is the 3/8" Garden Green Stitched Satin Ribbon, which is such a close match that I didn't realize it wasn't Old Olive. I may try either the 3/8" Old Olive mini Chevron ribbon or the 1/8" Old Olive Sheer Ribbon the next time I make this card. I used a Daffodil Delight water color pencil to color the heads of the flowers. I love how this card turned out!
The ribbon is the 3/8" Garden Green Stitched Satin Ribbon, which is such a close match that I didn't realize it wasn't Old Olive. I may try either the 3/8" Old Olive mini Chevron ribbon or the 1/8" Old Olive Sheer Ribbon the next time I make this card. I used a Daffodil Delight water color pencil to color the heads of the flowers. I love how this card turned out!
Recipe for card:
Stamps: Daisy Delight, Rose Wonder (Sentiment)
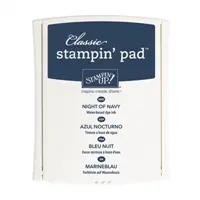
Ink: Night of Navy, Old Olive, Daffodile Delight Watercolor pencil
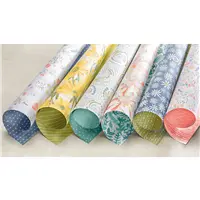
Paper: Delightful Daisy Designer Series Paper, Thick Whisper White, Whisper White, Old Olive
Accessories: 3/8" Garden Green Stitched Satin Ribbon
Click on an image below to go directly to my Stampin' Up! store to find out more about each product.
Join us for the July 9 card class
Join us for the July 9 card class
If you're in Houston, register now for the July 9 class where we'll make the 8 cards pictured below. Seats are filling fast, so sign up today!
Take a closer look at the projects we'll make in the Meetup Photo album for this class, and register for the class while you're vising my Meetup site.
Stay up-to-date with new card ideas by subscribing to my blog, register on my Meetup site or follow me on Instagram.
Register for this class now, as class size is limited. Your class fee of $29 will include precut materials.
Two Stampin' Up! July Promotions you won't want to miss
1. For each $50 purchase you make in July, you'll receive a $5.00 coupon to spend in August. Stampin' Up! offered this for the first time last year and it was so successful they're doing it again!
As always, for orders over US$150 (not including tax and shipping) you'll qualify for stampin' rewards -- free merchandise you select and add to your order.
2. It's Christmas in July for new Demonstrators who sign up this month. Sign up for $99, select $125 from the catalog plus get free gifts worth $72 including a new Christmas set.
Read all the details in my previous post.
Quick Links
- Download a free copy of the 2017-2018 Annual Catalog
- Order at a discount as a Stampin' Up! demonstrator. Sign up for $99 and get $125 worth of products in your starter kit that you select. Your kit ships free and you'll receive a free Paper Pumpkin kit as part of your new demonstrator kit. After you sign up, enjoy your future purchases at demonstrator discount prices of 20% to 25% off.
- Clearance Rack items - while quantities last.
- Order current or previous Paper Pumpkin monthly craft kits.
Enjoy!
Stampin' Up! Independent Demonstrator
To place an order: Place an on-line order through my Stampin' Up! store - 24/7 Shopping





How did you tie that cute bow?
ReplyDeleteThank you for your kind words!. My husband made me a little bow maker several years ago. He's made a few for me to use in the classes I hold. The little pegs fit on a holders on the side when the bow maker isn't in use so that they don't get lost and the bowmaker takes up little space. I have a photo of the bow maker on my Meetup site: https://secure.meetupstatic.com/photos/event/d/6/2/b/highres_462534827.jpeg Thanks again for your kind remarks.
ReplyDelete