- Creating a mirror image with your stamp sets
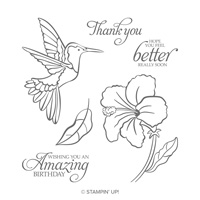
- Humming Along Stamp Set
- Special May Paper Pumpkin Kit available to order until May 10
How to Create Mirror Images with stamps
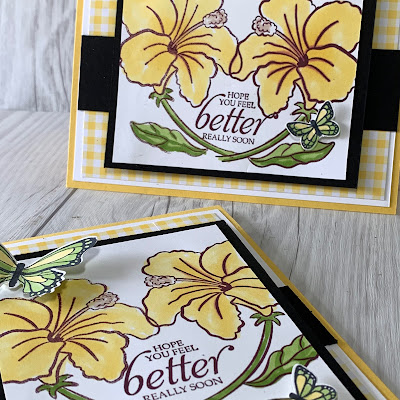
Today's inspiration came from a spontaneous demo I did as my card class yesterday was wrapping up. We were discussing how to do mirror images, and I decided to do a quick demo. I grabbed the nearest stamp pad, which turned out to be Fresh Fig, a silicon mat and the flower image from Humming Along stamp set. This morning, the mirror images I created was still on my table, so I grabbed some Blends, colored the image and decided I liked it enough to turn it into a card.
Creating a mirror image is easy. Simply ink up your stamp, and stamp the image onto your Silicon Craft Sheet.
 |
| Stamp your image onto a Silicone Craft Sheet |
Huff on your Silicone Craft Sheet image to keep the ink wet, and quickly cover it with the cardstock you want to use for your images.
 |
| Press your cardstock onto the inked image on your Silicone Craft Sheet |
Using the backside of your clear block, rub your block over the inked image on your silicone mat to transfer the inked image from your silicone mat to your cardstock.
 |
| Transfer the ink from a Silicon Craft Sheet to your cardstock by rubbing it with the back of a clear block |
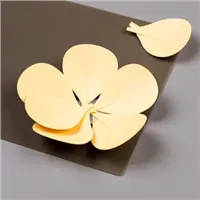
Turn over your cardstock and you'll see your mirror image. Ink up your stamp again and stamp the image as you would normally, next to your mirror image. Clean your Silicon Craft Sheet by running it under running water in your sink. If you don't have a Silicon Craft Sheet, you can also use your Stamparatus Plates to first stamp, and then transfer your image.
 |
| Stamp your regular image next to your mirrored image transferred from your Silicone Craft Sheet |
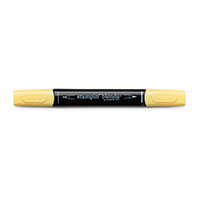
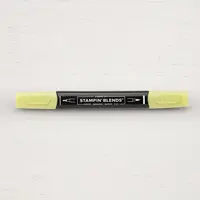
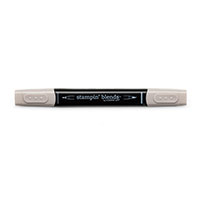
Once your have both images, color your images. I used Light Daffodil Delight and Light Granny Apple Greens Blends Markers to color the flower and leaves. Then I used a Light Crumb Cake Blends Marker to color the flower centers.
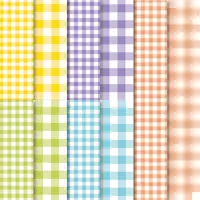
I created a horizontal version and vertical version of the card, and decide to use the Daffodil Delight Gingham Gala Designer Series Paper.
The basecard for today's card is Daffodil Delight. Then a layer of Whisper White. Then a layer of Gingham Gala 6" X 6" Designer Series Paper. Then a banner of Basic Black.
The image layer is matted with Basic Black, and the images are stamped on Whisper White cardstock. The images are colored with Light Daffodil Delight Blends Markers and Light Granny Apple Green Markers. Then Light Crumb Cake Blends Markers were used for the flower centers.
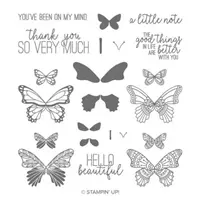
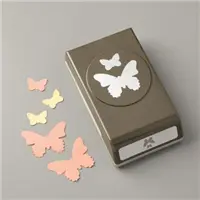
I stamped the sentiment from Humming Along in Fresh Fig ink, and then added butterflies from the Butterfly Gala Stamp Set and coordinating punch. The butterflies are stamped in Tuxedo Black Memento ink and colored with Light Daffodil Delight Blends Marker and Light Granny Apple Green Blends Marker. The butterflies are popped up on Mini Dimensionals cut in half.
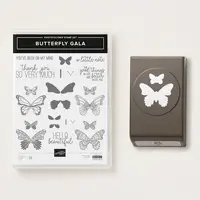
I'm so happy that the Butterfly Gala and coordinating Butterfly Duet Punch will carry over to the new catalog. But purchase this bundle now so you still get the 10% bundle saving. While the stamp set and punch are carrying over to the new catalog as individual items, the new-bundle price goes away after June 3.
Need a copy of the upcoming catalog? If you don't have a current Stampin' Up! demonstrator, I would love to be your demonstrator. Contact me, so I can add you to my new catalog mailing list, which I'm finalizing tomorrow (April 30). New catalogs will arrive towards the end of May, giving you time to put together your Shopping List so you'll be ready to order June 4.
Recipe
- Stamps: Humming Along, Butterfly Gala
- Ink: Tuxedo Black Memento, Light Daffodil Delight Blends, Light Granny Apple Green Blends, Light Crumb Cake Blends
- Paper: Daffodil Delight, Whisper White, Basic Black, Gingham Gala 6" X 6" Designer Series Paper
- Accessories: Butterfly Duet Pinch, Silicon Craft Sheet, Bone Folder (102300), Multipurpose Glue (110755), Dimensionals
You can purchase current items by visiting my online store here. To see more about each product, click on the product below.
Shelli's Very Special May Paper Pumpkin Kit
Stampin' Up! and Shelli Garner, Stampin' Up!'s Founder, created a very special May Paper Pumpkin Kit for us. And I know You're going to love it. But you must order it by May 10.
 |
| To learn more, click here. |
We made a sample from May Paper Pumpkin kit at On Stage, and I immediately went into my Paper Pumpkin subscription and upped the number of kits I have coming. You can do the same by going to PaperPumpkin.com and logging in with your password, if you already have a subscription.
This kit is designed by Shelli Garner, one of the founder of Stampin' Up!. She has a personal style that I've been attracted to for many, many years.
What is Paper Pumpkin Kits? Paper Pumpkin kits are monthly craft kits that you can be purchased in 1 month - 3 month - 6 month or 12 month subscriptions. You receive a different kit each month, along with all of the materials needed to complete your projects, except scissors and glue. You'll love how fast these kits go together, if you don't have a lot of time. And your finished kits means you'll have lovely cards or projects on hand when you need a card rather than making a late-night run to the card shop because of a last-minute need.
These kits include the papers, die cuts, embellishments, an exclusive stamp set and a mini ink pad -- everything needed to complete the kit. This month's kit is a Spring card kit with four different card designs with pre printed envelopes. It comes in a one-of-a-kind beautiful vintage-designed box. This is one Paper Pumpkin kit you don't want to miss. Order now.
Want more motivation for creating cards? Join my Meetup Site and you'll receive notification of my upcoming classes.
- To place an on-line order, 24 X 7
- Want to purchase at a discount? Sign up for $99 and get $125 worth of product you select from current catalogs in your starter kit.
- Download a free 2018-2019 catalogs.
- Follow my card ideas and upcoming classes by subscribing to my blog, register on my Meetup site, or by following me on Instagram or Facebook.
- Clearance Rack - Products available while they last
Enjoy!
Donna Ross
Stampin' Up! Independent Demonstrator
To place an order: Place an on-line order through my Stampin' Up! store - 24/7 Shopping








No comments:
Post a Comment