- Easter treat holders for mini chocolate eggs
- Join us for this week ends' card and Easter treat class
- Free Sale-A-bration selections with a $50 or $100 order
Tiny Easter Treat Bags
This is a really cute idea for quickly making handmade treat holders for Easter treats. Mine are filled with foil-covered chocolate eggs that match the papers I'm using. I was able to get 6 small eggs into each of the treat bags. I'm sure you could also use this for fun-sized candies such as Snickers, etc. And the small size of these treat holders will help you control candy portions. Another idea is to fill them with small gifts, like erasers or pencil sharpeners, instead of candy.
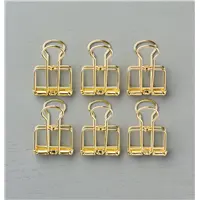
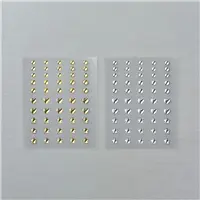
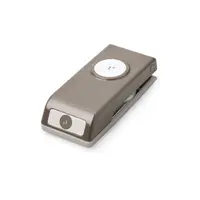
I used the Gold Binder Clips, Gold Metallic Enamel Shapes, and a Gold Foil Sheet to accent the window in my treat bag.
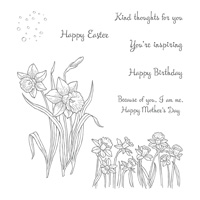
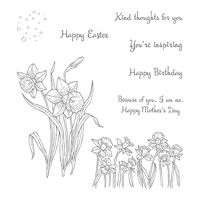
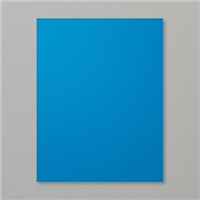
I used Garden Green, Berry Burst and Pacific Point cardstock for my little bags as they were the closest match to the foil eggs I found. The Happy Easter sentiment is from the You're Inspiring set from the Occasions catalog.
The measurements for the cardstock and scoring are:
Cardstock: 8-1/2" X 4"
Score on the 4" side at 1-1/2 and flip the cardstock over and score at 3-1/2"
Score on the 8-1/2"side at 2", 4", 6", and 8" and then score down only to the 3-1/2" score line at 3" and 7". See image below
I used the Simply Scored Scoring Tool and Stylus to quickly score my cardstock. Your cardstock score lines should resemble the photo below, after you cut away and notch the right hand edge. Also cut up to the 1st score line from the bottom on the remaining 3 score lines.

Click for a larger image of cut lines and score lines
Beginning with the notch at 3", use a ruler and score a line from the bottom of the 3" mark to the top of the cut line to the left and right of the mark. Click the image above for a larger image of these score lines. Do the same with the 7" notch. These will become the sides of your mini treat bag, once assembled.
Crease all your lines. Then turn the short lip up and using a 1" circle punch, punch a centered hole in the second square. See photo above for placement.
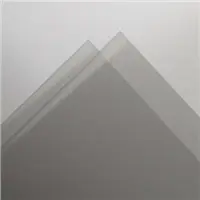
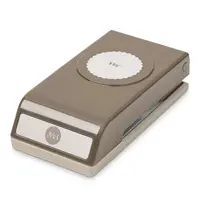
Cut a small 1-1/2 X 1-1/2" window sheet and adhere it to the inside of your treat bag with glue dots. Then, using the 1" circle punch first and then the 1-3/8" scalloped circle punch, create a gold frame from a Gold Foil Sheet to adhere around the window on the outside of your box.
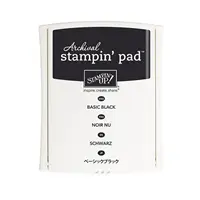
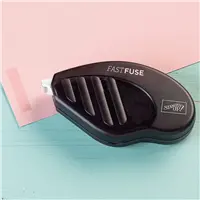
Crease the fold lines similar to the layout above. Seal the side and bottom of the box with Tear & Tape or Fast Fuse. Fill with chocolate eggs, and close the top with the Gold Binder Clip. Stamp the Sentiment from You're Inspiring in Basic Black Archival Ink, and punch out with the Classic Label Punch. Add a Gold Metallic enamel to the sentiment, and adhere to the bag with mini dimensionals.
Thanks to Sam Hammond Donald, a UK Stampin' Up! Demonstrator for this great projects. She has a very helpful video on her site.

This is one of the project's we'll make in this weekend's class. Sign up now!
This is a really cute idea for quickly making handmade treat holders for Easter treats. Mine are filled with foil-covered chocolate eggs that match the papers I'm using. I was able to get 6 small eggs into each of the treat bags. I'm sure you could also use this for fun-sized candies such as Snickers, etc. And the small size of these treat holders will help you control candy portions. Another idea is to fill them with small gifts, like erasers or pencil sharpeners, instead of candy.
I used the Gold Binder Clips, Gold Metallic Enamel Shapes, and a Gold Foil Sheet to accent the window in my treat bag.
I used Garden Green, Berry Burst and Pacific Point cardstock for my little bags as they were the closest match to the foil eggs I found. The Happy Easter sentiment is from the You're Inspiring set from the Occasions catalog.
The measurements for the cardstock and scoring are:
Cardstock: 8-1/2" X 4"
Score on the 4" side at 1-1/2 and flip the cardstock over and score at 3-1/2"
Score on the 8-1/2"side at 2", 4", 6", and 8" and then score down only to the 3-1/2" score line at 3" and 7". See image below
I used the Simply Scored Scoring Tool and Stylus to quickly score my cardstock. Your cardstock score lines should resemble the photo below, after you cut away and notch the right hand edge. Also cut up to the 1st score line from the bottom on the remaining 3 score lines.
 |
| Click for a larger image of cut lines and score lines |
Beginning with the notch at 3", use a ruler and score a line from the bottom of the 3" mark to the top of the cut line to the left and right of the mark. Click the image above for a larger image of these score lines. Do the same with the 7" notch. These will become the sides of your mini treat bag, once assembled.
Crease all your lines. Then turn the short lip up and using a 1" circle punch, punch a centered hole in the second square. See photo above for placement.
Cut a small 1-1/2 X 1-1/2" window sheet and adhere it to the inside of your treat bag with glue dots. Then, using the 1" circle punch first and then the 1-3/8" scalloped circle punch, create a gold frame from a Gold Foil Sheet to adhere around the window on the outside of your box.
Crease the fold lines similar to the layout above. Seal the side and bottom of the box with Tear & Tape or Fast Fuse. Fill with chocolate eggs, and close the top with the Gold Binder Clip. Stamp the Sentiment from You're Inspiring in Basic Black Archival Ink, and punch out with the Classic Label Punch. Add a Gold Metallic enamel to the sentiment, and adhere to the bag with mini dimensionals.
Thanks to Sam Hammond Donald, a UK Stampin' Up! Demonstrator for this great projects. She has a very helpful video on her site.
 |
| This is one of the project's we'll make in this weekend's class. Sign up now! |
Recipe:
Recipe:
Stamps: You're Inspiring
Ink: Archival Basic Black
Paper: Whisper White, Garden Green, Berry Burst, Pacific Point, Gold Foil Sheet, Window Sheet
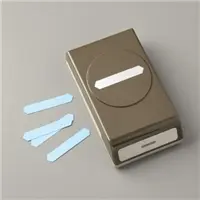
Accessories: Gold Binder Clips, Gold Metallic Enamel Shapes, Classic Label Punch, 1" Circle Punch, 1-3/8" Scallop Circle Punch, Paper Snips, Bone Folder, Silicone Craft Sheet, Stampin' Pierce Mat, Stampin' Trimmer, Fast Fuse, Glue Dots, Mini Dimensionals
Stamps: You're Inspiring
Ink: Archival Basic Black
Ink: Archival Basic Black
Paper: Whisper White, Garden Green, Berry Burst, Pacific Point, Gold Foil Sheet, Window Sheet
Accessories: Gold Binder Clips, Gold Metallic Enamel Shapes, Classic Label Punch, 1" Circle Punch, 1-3/8" Scallop Circle Punch, Paper Snips, Bone Folder, Silicone Craft Sheet, Stampin' Pierce Mat, Stampin' Trimmer, Fast Fuse, Glue Dots, Mini Dimensionals
To see more information and close ups any of the supplies used in today's projects, click on an image below for larger product images and/or to go directly to my Stampin' Up! store.
We're making these projects in the Feb 25 Class Class
Join the fun as we make general cards and Easter treats during this week end's class. We would love to have you in the February 25 class. It's perfectly timed to help you build up your stash of cards, and get ready for Easter. We'll make the projects pictured below, and you can select from different sentiments so each card meets your needs.
Projects include six full-size cards, three Easter treat packages, and a small basket ready for Easter treats.
.

Project we'll make in February 25 class
Take a closer look at the projects we'll make in the Meetup Photo album for this class, and register for the class while you're visiting my Meetup site. See individual photos of each project in the Meetup Photo album.
Seats remain, so register for this class now. Your class fee of $30 will include precut materials for cards and shreds, candy, and items to fill your treat packages.
Join the fun as we make general cards and Easter treats during this week end's class. We would love to have you in the February 25 class. It's perfectly timed to help you build up your stash of cards, and get ready for Easter. We'll make the projects pictured below, and you can select from different sentiments so each card meets your needs.
Projects include six full-size cards, three Easter treat packages, and a small basket ready for Easter treats.
.
 |
| Project we'll make in February 25 class |
Take a closer look at the projects we'll make in the Meetup Photo album for this class, and register for the class while you're visiting my Meetup site. See individual photos of each project in the Meetup Photo album.
Stay up-to-date with new card ideas by subscribing to my blog, register on my Meetup site or follow me on Instagram.
Stay up-to-date with new card ideas by subscribing to my blog, register on my Meetup site or follow me on Instagram.
Catalog Downloads
Catalog Downloads
See the Sale-A-Bration second release flyer. You're going to love these new free selections with your $50 and $100 orders. Click here to download.

Download the Second release Sale-A-Bration brochure to see new
selections with your $50 or $100 orders until March 31, 2018
For copies of the current Stampin' Up! Catalogs and the Sale-A-Bration flyers, download by clicking here.
Sale-a-bration orders earn free Merchandise
You still have time to select free Sale-A-Bration gifts with your orders. Visit the Sale-A-Bration tab on my blog to learn how to earn free gifts during Sale-A-Bration and how to get more by joining my team.
- Get a free gift selection with every $50 purchased
- A few additional selections with a $100 purchase
- Download free Stampin' Up! Sale-A-Bration brochures to see gifts you qualify for.
- Free paper, free scrap booking cards, free stamp sets, free ribbons
You'll love the selection.
See the Sale-A-Bration second release flyer. You're going to love these new free selections with your $50 and $100 orders. Click here to download.
 |
| Download the Second release Sale-A-Bration brochure to see new selections with your $50 or $100 orders until March 31, 2018 |
Sale-a-bration orders earn free Merchandise
You still have time to select free Sale-A-Bration gifts with your orders. Visit the Sale-A-Bration tab on my blog to learn how to earn free gifts during Sale-A-Bration and how to get more by joining my team.
- Get a free gift selection with every $50 purchased
- A few additional selections with a $100 purchase
- Download free Stampin' Up! Sale-A-Bration brochures to see gifts you qualify for.
- Free paper, free scrap booking cards, free stamp sets, free ribbons
You'll love the selection.
Placing an order:
Placing an order:
1. Orders over $150 (not including tax and shipping), qualify for shopping rewards. This is free merchandise you select from the current catalogs and add to your order.
2. If your order is over $50 (not including tax and shipping), you qualify for Sale-A-Bration Rewards (January 3- March 31, 2018)
3. If your purchases on your Wish List are over $100, the $99 Starter Kit is one way to save on your purchase today. And save even more on future orders. You can order $125 worth of product for $99 plus two free stamp sets until March 31. After your initial $99 order for merchandise you select from anything in the current catalogs, place an order for the remainder of your Wish List as a demonstrator, and save 20% on future purchases. Need help building your shopping list? Contact me, and we'll work through your starter kit order together.
4. Place an on-line order through my Stampin' Up! store - 24/7 Shopping. I would love to be your Stampin' Up! demonstrator if you don't already have one. Let me know if you need an Occasions and Sale-A-Bration Catalog.
6. Order current or previous Paper Pumpkin monthly craft kits. Sign up now for the March kit which will include a free gift as Paper Pumpkin celebrates its 5th anniversary.
1. Orders over $150 (not including tax and shipping), qualify for shopping rewards. This is free merchandise you select from the current catalogs and add to your order.
2. If your order is over $50 (not including tax and shipping), you qualify for Sale-A-Bration Rewards (January 3- March 31, 2018)
3. If your purchases on your Wish List are over $100, the $99 Starter Kit is one way to save on your purchase today. And save even more on future orders. You can order $125 worth of product for $99 plus two free stamp sets until March 31. After your initial $99 order for merchandise you select from anything in the current catalogs, place an order for the remainder of your Wish List as a demonstrator, and save 20% on future purchases. Need help building your shopping list? Contact me, and we'll work through your starter kit order together.
4. Place an on-line order through my Stampin' Up! store - 24/7 Shopping. I would love to be your Stampin' Up! demonstrator if you don't already have one. Let me know if you need an Occasions and Sale-A-Bration Catalog.
Enjoy!
Stampin' Up! Independent Demonstrator


