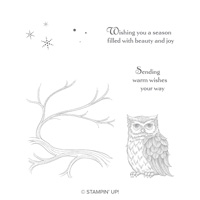
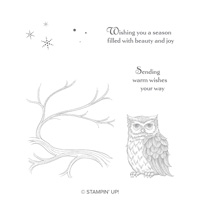
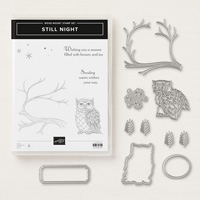
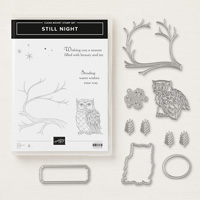
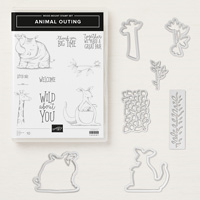
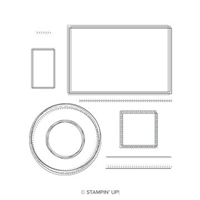
- Stampin' Up Still Night Stamp Set
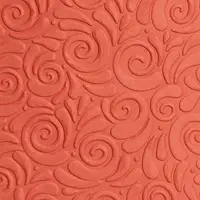
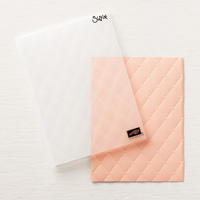
- Swirls & Curls Textured Impressions Embossing Folder
- Join us for this weekend's Holiday card class
Stampin' Up! Still Night Bundle
One of the joys for a creative personal attending On Stage is seeing the creativity of wonderful Stampin' Up! demonstrators around the world. Today, I'm highlighting a beautiful card I received from Sharni Haines, a very talented demonstrator from Australia who flew all the way to Orlando to participate in Stampin' Up! On Stage and one of the organized swaps I was part of last week.
Sharni's card was a masterpiece that I think I'll end up framing it, it is so wonderful. I also love the fact that she used a bundle from the Holiday catalog--the Still Night Bundle--and shows an example of how the card could be used for cards other than the Holiday season. As an avid stamper, I love seeing ways to extend the use of stamp sets I purchase. Her blog includes more ideas for using this set.
The basecard is Gray Granite. Then a layer of Very Vanilla dry embossed with the Swirls & Curls Textured Impressions Embossing Folder.
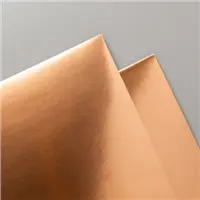
The top and bottom of the card have 3 layers of waves-like layers of Gray Granite, Copper Foil Sheets and a layer of Smoky Slate. Each layer is popped up on Dimensionals to created beautiful dimension to the card.
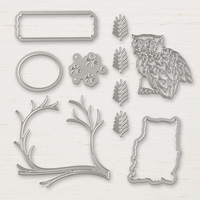
The Night Owl Thinlit dies with this bundle create the branches, which are cut from both Gray Granite, Smoky Slate and Copper Foil Sheets. The label shape is also included in this die set.
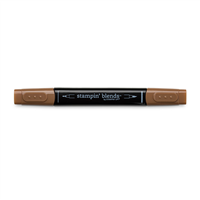
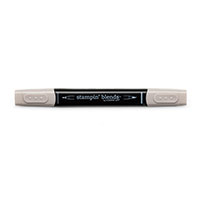
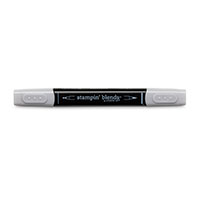
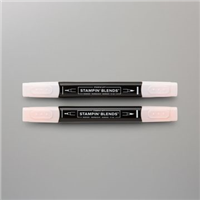
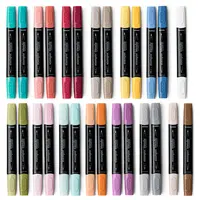
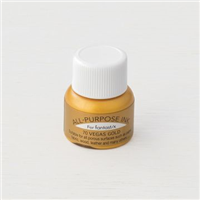
The owl is stamped using the Still Night Stamp set and then colored with Bronze, Crumb Cake, Smoky Slate and Petal Pink Blends Markers and due cut using the Night Owl Thinlit dies. The "moon" behind the owl is a circle of vellum on top of a layer of Vegas Gold Shimmer Paint, giving the "moon" an ethereal feel.
This card just blew me away. The use of both Smoky Slate and Gray Granite together adds to the overall textures in this card. It is gorgeous in real life, and now I have to rethink ordering this set! The recipe for this card is below.
I wanted to show you a couple of additional swaps I received during general swaps. Demonstrators swapped cards during any lull in activities -- while waiting for the main stage doors to open; while waiting for sessions to start; during lunch breaks; while sitting in the lobby charging your phone. General swaps don't require a demonstrator to add their names to their swaps, and unfortunately, the two I'm showing today, didn't have contact information to give credit to these creative demonstrators.

Spirited Snowman and Blizzard Thinlit Dies

Dandelion Wishes and Stitched Shapes Framelit Dies
Take a look at other sets and dies available in the Stampin' Up! Main Catalog and the Holiday Catalog, Then, order your holiday stamp sets and dies soon so you'll have them in plenty of time to create your handmade holiday cards.
One of the joys for a creative personal attending On Stage is seeing the creativity of wonderful Stampin' Up! demonstrators around the world. Today, I'm highlighting a beautiful card I received from Sharni Haines, a very talented demonstrator from Australia who flew all the way to Orlando to participate in Stampin' Up! On Stage and one of the organized swaps I was part of last week.
Sharni's card was a masterpiece that I think I'll end up framing it, it is so wonderful. I also love the fact that she used a bundle from the Holiday catalog--the Still Night Bundle--and shows an example of how the card could be used for cards other than the Holiday season. As an avid stamper, I love seeing ways to extend the use of stamp sets I purchase. Her blog includes more ideas for using this set.
The basecard is Gray Granite. Then a layer of Very Vanilla dry embossed with the Swirls & Curls Textured Impressions Embossing Folder.
The top and bottom of the card have 3 layers of waves-like layers of Gray Granite, Copper Foil Sheets and a layer of Smoky Slate. Each layer is popped up on Dimensionals to created beautiful dimension to the card.
The owl is stamped using the Still Night Stamp set and then colored with Bronze, Crumb Cake, Smoky Slate and Petal Pink Blends Markers and due cut using the Night Owl Thinlit dies. The "moon" behind the owl is a circle of vellum on top of a layer of Vegas Gold Shimmer Paint, giving the "moon" an ethereal feel.
This card just blew me away. The use of both Smoky Slate and Gray Granite together adds to the overall textures in this card. It is gorgeous in real life, and now I have to rethink ordering this set! The recipe for this card is below.
I wanted to show you a couple of additional swaps I received during general swaps. Demonstrators swapped cards during any lull in activities -- while waiting for the main stage doors to open; while waiting for sessions to start; during lunch breaks; while sitting in the lobby charging your phone. General swaps don't require a demonstrator to add their names to their swaps, and unfortunately, the two I'm showing today, didn't have contact information to give credit to these creative demonstrators.
 |
| Spirited Snowman and Blizzard Thinlit Dies |
 |
| Dandelion Wishes and Stitched Shapes Framelit Dies |
Take a look at other sets and dies available in the Stampin' Up! Main Catalog and the Holiday Catalog, Then, order your holiday stamp sets and dies soon so you'll have them in plenty of time to create your handmade holiday cards.
Recipe for project:
Recipe for project:
Stamps: Still Night, Night Owl Thinlit Dies, Still Night Bundle
Ink: Versamark Ink, Blends - Bronze, Crumb Cake, Smoky Slate & Petal Pink
Paper: Whisper White, Very Vanilla, Gray Granite, Smoky Slate, Vellum, Copper Foil Sheets
Accessories: Copper Embossing Powder, Heat Tool, Swirls & Curls Embossing Folder, Vegas Gold Shimmer Paint, Big Shot, Big Shot Platform, Big Shot Die Brush, Standard Cutting Pads, Multipurpose Adhesive Sheets, Multipurpose Glue, Dimensionals
To order items used on today's, click on one of the product photos below, or go directly to my Stampin' Up! store.
To order items used on today's, click on one of the product photos below, or go directly to my Stampin' Up! store.
Stay up-to-date with new card ideas by subscribing to my blog, register on my Meetup site or by following me on Instagram.
Stay up-to-date with new card ideas by subscribing to my blog, register on my Meetup site or by following me on Instagram.
We're making Holiday Cards Nov 18
Join us for a crafty afternoon of making holiday cards. You'll leave with these 6 cards to use as samples to create more cards for your ever-growing list of friends and family. As a crafter you know they won't settle for a Facebook Messenger Wave, a few holiday emojis at the end of a text, or a store bought card. They know you're a crafter and they are looking for a card from you they'll be proud to display this holiday season.
Do it the easy way. Come make cards where all the cutting is done for you. Join us Sunday afternoon, November 18. We'll create 6 holiday cards you can customize with sentiments that work for your needs, and the yo can use our samples to create more cards on your own.
We're using a variety of Fall and Holiday stamp sets, including the Snowfall dies from the limited-time Snowflake Showcase sets available to customers November 1- 30th.
You'll get a chance to try several different products, punches, dies and techniques to add to your crafting skills.
You'll love creating these cards and then sharing your creativity with others when you mail these wonderful Fall and Holiday cards.
For a closer look at each project, take a look at the Meetup Photo album for this class, and register for the class while you're visiting my Meetup registration site. The photo album includes individual photos of each project we'll make.
Class size is limited, so register for this class now. Your class fee of $28 for these projects will include precut materials, and embellishments. Use your PayPal account and send your class fee to my PayPal account at dje-ross@swbell.net , or ask me to issue you a PayPal invoice for the class.
Subscribe to my blog, register on my Meetup site or follow me on Instagram to receive up to date ideas and notices.
Subscribe to my blog, register on my Meetup site or follow me on Instagram to receive up to date ideas and notices.
Need To place an order?
Need To place an order?
1. Orders over $150 (not including tax and shipping), qualify for shopping rewards. You select free merchandise from the current catalogs to add to your order. You can also purchase hostess sets with a $150 order. Order here.
2. If the purchases on your Wish List are over $100, the $99 Starter Kit is one way to save on your purchase today. And save even more on future orders. First, you can order $125 worth of product for your $99 starter kit. After your initial $99 order for merchandise you select from anything in the current catalogs, place an order for the remainder of your Wish List as a demonstrator, and start saving 20% on your purchases. Need help building your shopping list? Contact me, and we'll work through your starter kit order together.
3. Place an on-line order through my Stampin' Up! store - 24/7 Shopping. I would love to be your Stampin' Up! demonstrator if you don't already have one. Let me know if you need an Annual Catalog or the upcoming Holiday Catalog.
4. Clearance Rack items - while quantities last.
5. Order current or previous Paper Pumpkin monthly craft kits. If you've never tried Paper Pumpkin, give this monthly kit a try.
Enjoy!
Stampin' Up! Independent Demonstrator
Enjoy!
Stampin' Up! Independent Demonstrator


